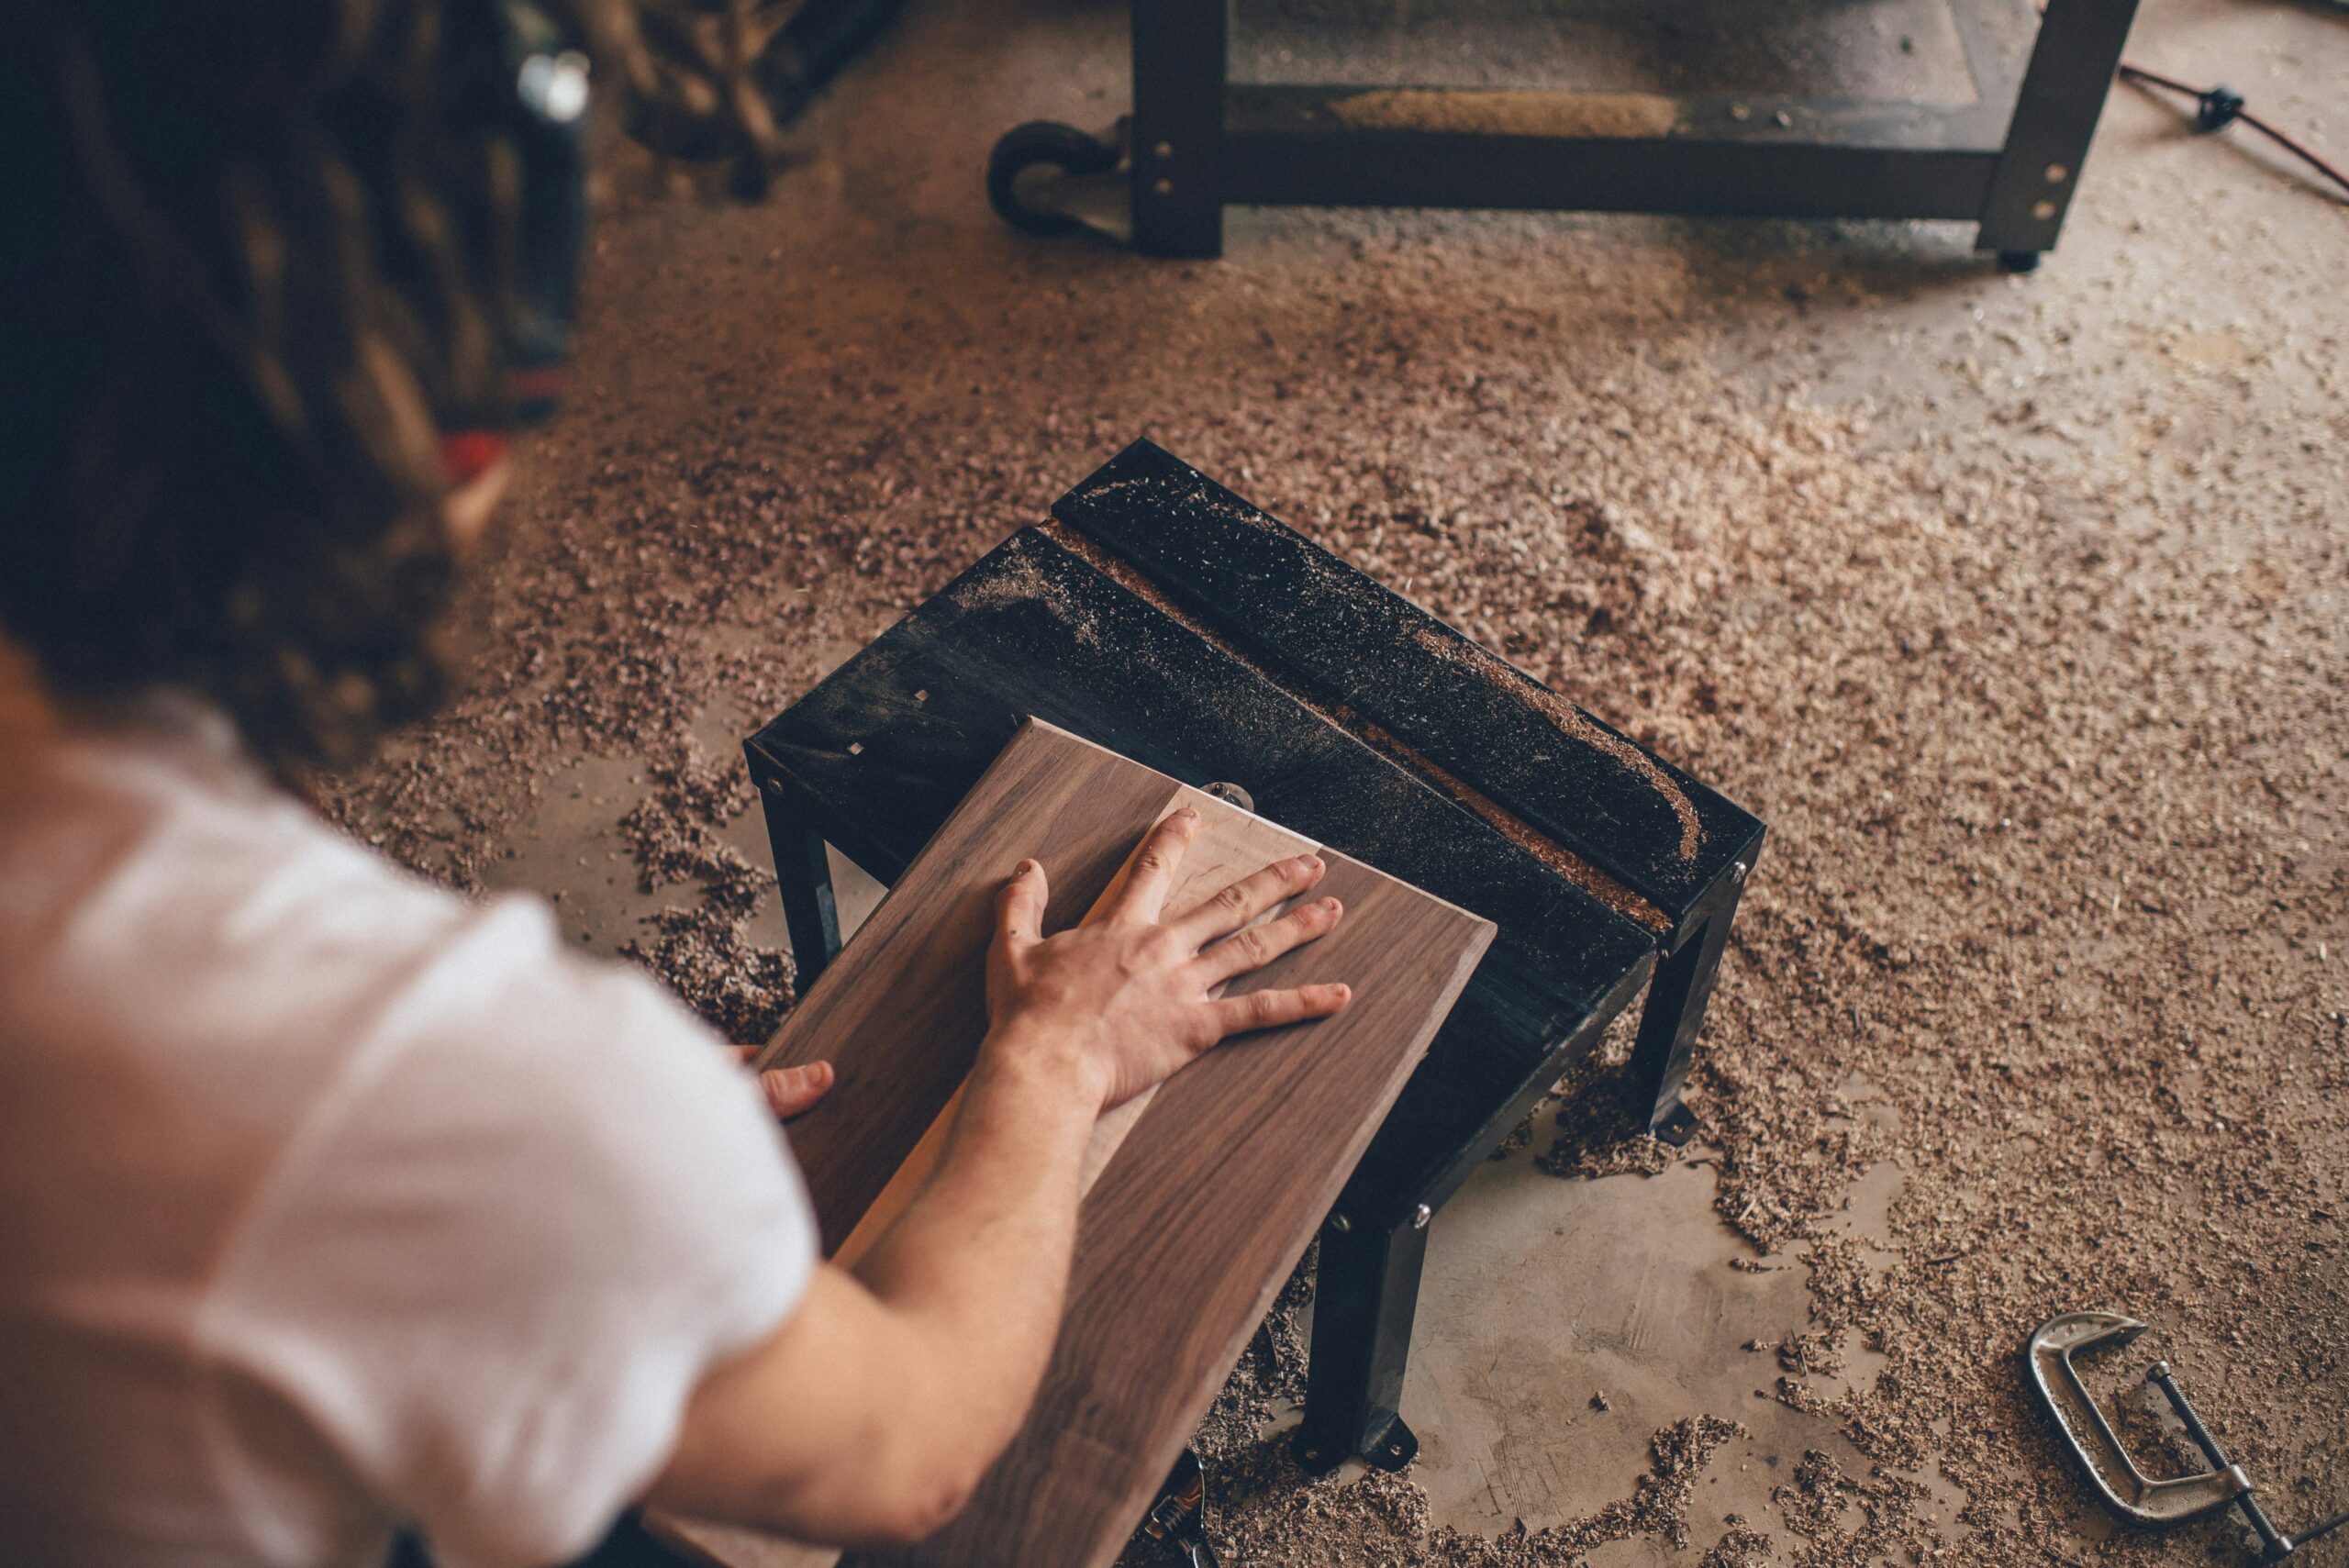
Our handmade wooden serving platters are more than just kitchen essentials; they are functional works of art. Whether you are an experienced woodworker or a DIY enthusiast, making a handmade wooden charcuterie board is a rewarding process. Using premium hardwood like ash, maple, oak, and walnut, you can create unique and unusual charcuterie boards. Such as, an attractive handmade item, perfect for serving appetizers, cheeses, and meats with a touch of elegance.
Let’s walk you through the process of handcrafting a handmade wooden serving platter, from selecting the best hardwoods to applying the final finishes.
Choosing the Correct Hardwood for Your Handmade Wooden Serving Platter
The first step in making handmade wooden serving platters is selecting the right wood type. Different types of hardwood offer varying aesthetics, durability, and grain patterns, making each handmade wooden charcuterie board unique.
Here are some of our top options:
Ash Charcuterie Boards
Ash is a strong and flexible hardwood with an exquisite grain pattern. It has a light, ivory/silver hue, making it a great choice for those who prefer a bright and airy look to their serving platters.
Maple Charcuterie Boards
Hard Arctic Maple is one of the most popular choices for wooden serving platters. It is incredibly durable, has a smooth texture, and features a subtle yet elegant grain. Maple charcuterie boards provide a clean and modern aesthetic.
Oak Charcuterie Boards
Oak is known for its strength and bold grain patterns. Oak charcuterie boards are perfect for rustic or traditional settings. The wood’s rich texture adds a warm and inviting feel to any gathering.
Walnut Charcuterie Boards
Walnut is a luxurious hardwood with a deep, rich brown colour. It is often used for high-end, unique charcuterie boards due to its striking grain and natural elegance. Walnut charcuterie boards make a statement and add a touch of sophistication to your table.
Tools and Materials Required
Before you begin crafting your handmade wooden serving platter, gather the following tools and materials:
Tools Required:
Japanese saw – push/pull
Jigsaw or bandsaw
Spokeshaves – Concave and convex
Sandpaper – 40, 80, 120, 240, 400 grit
Large F or G Clamps
Food-safe wood glue – we recommend Titebond 3
Drill if adding intricate handles
Woodburning tool – optional, for customization
Materials Required:
High-quality hardwoods, such as ash, maple, oak, or walnut
Food-safe mineral oil or beeswax finish
Masking tape for marking cut lines
Step-by-Step Guide to Making Handmade Wooden Serving Platters
Designing Your Handmade Wooden Serving Platters
Begin by deciding on the shape and size of your serving platter. Some prefer traditional rectangular boards, while others opt for organic, freeform shapes like our popular Pebble board, to create unusual charcuterie boards. Sketch your design on paper or directly onto the wood using a pencil.
Cutting and Shaping the Hardwood
Once your design is ready, use a jigsaw or bandsaw to carefully cut along the marked lines. If you’re aiming for a smooth, flowing shape, take your time and make gentle curves.
Sanding Edges and Surfaces Until Silky Smooth
Start with coarse sandpaper of 40-80 grit to remove rough edges or saw marks. Progress to finer grits of 120, 240 and then onto 400 grit to achieve a silky-smooth surface. Always pay special attention to the edges and corners, rounding them slightly for a comfortable grip. The perfect handmade wooden serving platters need to be tangent and tactile for good usability.
Decorative Details
For a unique touch, use a router to create a decorative edge or groove. If you want to add a personalized touch to your handmade wooden charcuterie board, consider using a woodburning tool to etch a design, initials, or a meaningful message.
Applying a Food-Safe Finish
To protect your wooden charcuterie board and enhance its appeal, apply a food-safe finish like mineral oil or beeswax. Using a soft cloth, rub the finish into the wood, on both sides, in circular motions. Let it sit for a few hours before wiping off any excess. Repeating the process where necessary.
Consider Adding Handles
If you require handles for easier carrying, drill small holes and attach metal hardware or wooden handles onto your handmade wooden serving platters. Ensure they are firmly secured and align with the board’s aesthetic.
Maintaining Your Handmade Wooden Serving Platters
To keep your unique charcuterie board in top condition, follow these simple maintenance tips:
Hand wash only: Never put your wooden platter in the dishwasher.
Avoid soaking: Prolonged exposure to water can cause warping or cracking.
Regular oiling: Apply mineral oil or beeswax every few weeks to maintain the wood’s natural lustre.
No harsh chemicals: Use mild soap and warm water for cleaning.
Store properly: Keep the board in a cool dry place away from direct heat or sunlight.
Creative Ideas for Handmade Wooden Charcuterie Boards
Looking for inspiration? Here are a few unique and unusual charcuterie board ideas:
Live Edge Boards: Maintain the natural edge of the wood for a rustic look.
Geometric Shapes: Try hexagons, ovals, or asymmetrical designs.
Inlay Designs: Use epoxy resin or contrasting wood strips for a distinctive style.
Engraved Patterns: Personalize with floral designs, monograms, or family crests.
Creating handmade wooden serving platters is a fulfilling craft that allows you to blend functionality with works of art. Whether you choose ash, maple, oak, or walnut, each of the handmade wooden serving platters you craft will be one-of-a-kind. By following these steps and incorporating your creativity, you can produce unique charcuterie boards that will be cherished for years to come.
Grab your hand tools and start handcrafting your unusual charcuterie boards and handmade wooden serving platters, today!
